
Every costume was thought thru with much detail. We studied the type of character C.S. Lewis portrayed and tried to copy the Pauline Baines drawings. The. We added a bit of flare. From little mice to fat Giants, every costume was extremely unique, and the person that wore them, was from a whole other world.
If any of you are familiar with Narnia, you will see that we have a set from every book... We wanted to make this something that all the children would never forget! From he beavers dam, to the dawn treader, to a narnian feast! It was a true narnian party. Everyone who helped put it together really had the most fun!


Here are a few pictures showing the building of sets... And creating costumes...


My shop during construction
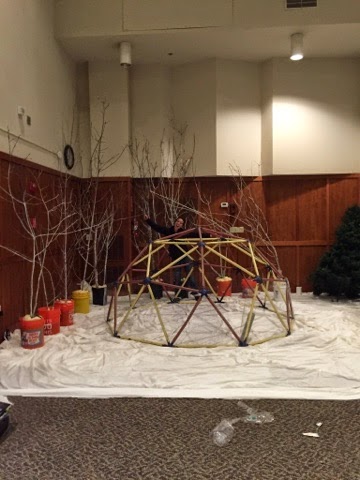
Starting to set up in the building
And here re the finished sets and costumes... Oh did I fail to mention we got this powder that you add water to and it makes it look like real snow! It's incredible... But hard to cleanup off carpet😁
The white witches castle...
The beavers dam...and entry
The dawn treader... And the picture frame...
I couldn't get a good pic of tashbaan, but it was there...
The silver chair...


And finally the many creative costumes I helped with...
Okay.. This is me.. Yes a giant! It was neat to finally be tall...and fat!

A dryad...


Lazeraline...

My sister as jewel the unicorn...
Fledge the horse...
Havilah as a stone statue...

Mr. And mrs. Beaver


My little dwarf trumpkin


My brother Isaac as lord restimar.. One of the seven lords that turned to gold...
Eloise as Susan and Juliet as Aslan...

My brother as puddle glum (and his fiancé)


Dufflepud... I made the shoe on this one...

And this is eustace the dragon...he was our hardest costume and most creative... Below will be pics of working on it too...


This is what his whole body was made of... Womens snake skin coats from goodwill all cut up..! 
Thank you all for coming to Narnia with me!.JPG)
.JPG)
.JPG)


