Daily I work and take in all sorts of different types of projects. From hemming jeans, to replacing zippers, to wedding gowns.
As I took on more work my storage area for my jobs was becoming a little disorganized. No matter how hard I tried to keep it looking neat, it never looked good. One day I was at my friends house and she was showing me her recent Ikea purchases. AS she told me about her great experience and how much she liked the quality and the price, I decided it was time for me to do some browsing.
I looked for a couple weeks at all there different sets and combinations, keeping in mind the size a wall space I had, as well as the types of storage I needed, cubes, drawers, cabinets etc... As I looked I realized in all this I could add another desk space as well. All that said, I made a trip to Ikea picked everything up, plus a lot extra and assembled it all within about one day.
I got all the furniture pieces, the fabric boxes, the baskets, lanterns, the buckets hanging on a rod, and picture frames.
Here's the reveal of my new space.But first the before picture, so you can really see the amount of upgrade I did.
 |
| BEFORE |
 |
| My Helper |
 |
| Assembling the glass cabinet at about midnight :) |
 |
| After |
 |
| The chalkboard isnt quite finished, but its in the general place i want it to be |
 |
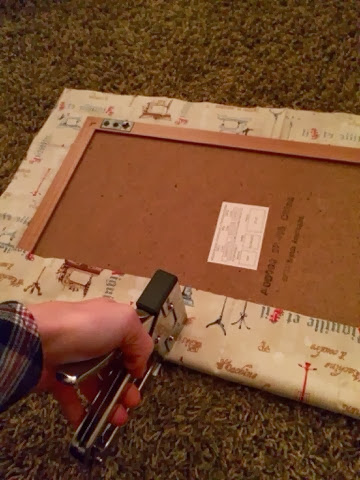
| hanging buckets and my diy bulletin board |
 |
| Job storage |
 |
| basket job storage |
 |
| In my glass cabinet |
 |
| pattern storage |
 |
| A vintage portable sewing machine I found at an antique store |
 |
| i added a play area for kids in the middle of the room |
 |
| and yes this 3 tiered cart is also from ikea- got it from their kitchen section |
 |
| And my new wool rug from Joss and Main |
 |
| And to end on a side note... a visit from my niece Clara... in the coat we made Eloise for her first birthday... clara is only 6 months :) |


